

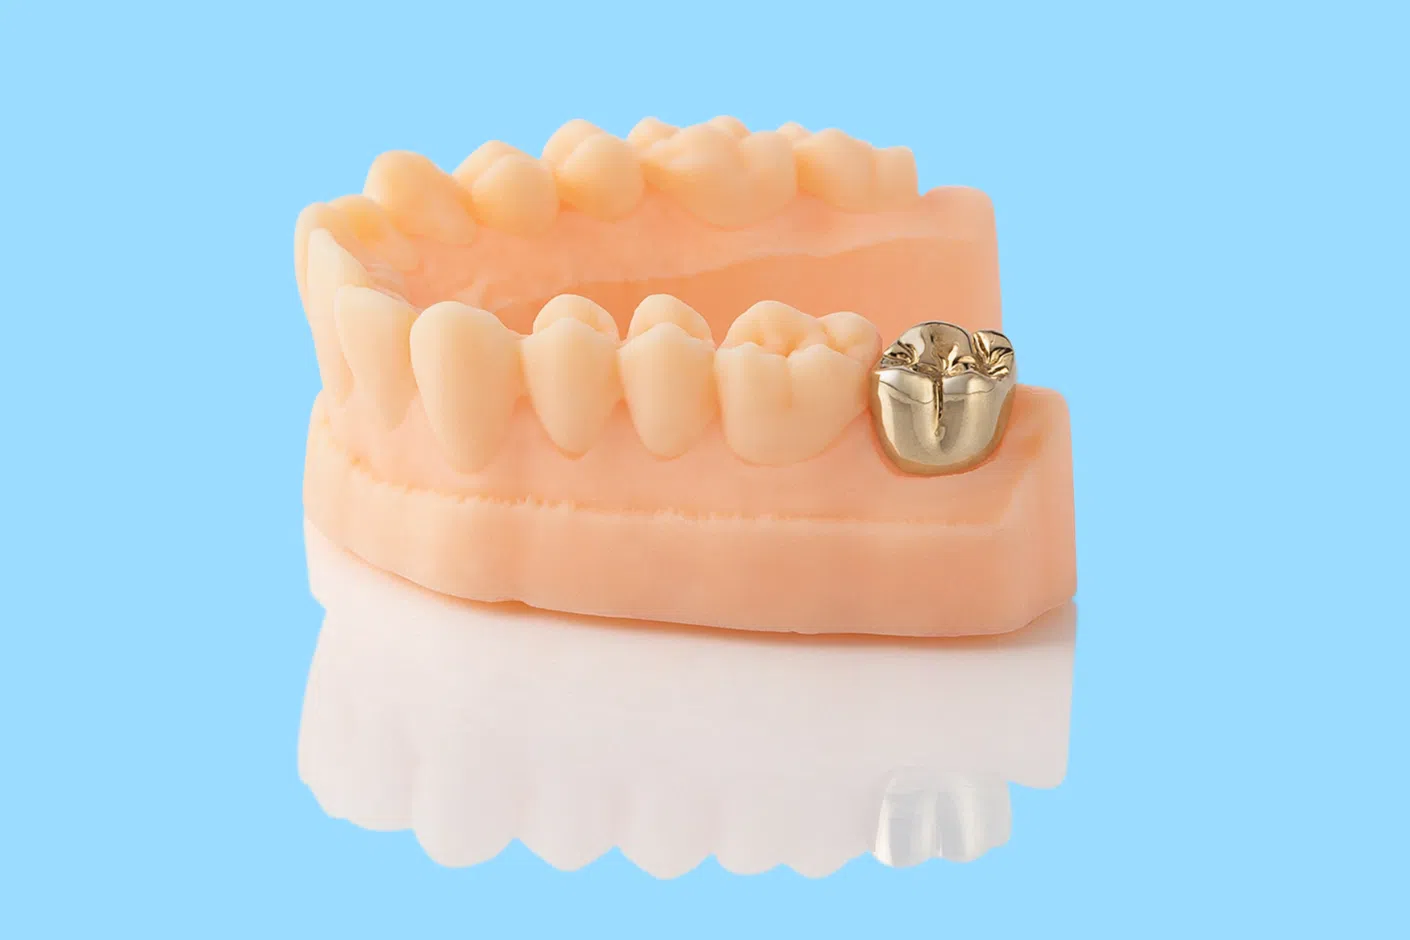
Accurate intraoral scanning supports precise crown and bridge restorations through consistent technique and clear lab communication.
Scanning accuracy is the foundation of every successful crown and bridge restoration. For crown and bridge work, even the smallest margin or occlusal error can lead to open margins and occlusion issues. Digital workflows make it possible to control these variables with precision, but only when scanning technique and communication with your lab are consistent.
Sanners excel at capturing stable, hard-tissue detail, prepared teeth, implant scan bodies, and occlusal surfaces, as they provide reliable reference points that resist distortion. Live visualisation also allows dentists to confirm margin clarity and fill voids immediately, which helps support dentists ensure complete data capture before the case is sent to the lab.
In tooth-supported crown and bridge restorations, scanning captures the precise preparation geometry, margin location, adjacent contacts and occlusal relationship of the natural teeth. This dataset provides the lab with a direct digital scan of the prepared natural abutment teeth and their opposing contacts. When the scan accurately records the taper, chamfer, and clearance, the resulting crown or bridge can be milled to seat with minimal adjustment. For the dentist, real-time visualisation during scanning makes it possible to check margin visibility and fill voids immediately. This is an important control point before submission to the lab.
In implant-supported crown and bridge restorations, scanning occurs after the implant has integrated. Instead of capturing a natural tooth, the process records the exact position and angulation of the implant using a scan body. The scan also maps the soft-tissue emergence profile, which allows the lab to design the abutment and restoration to support the gingiva correctly. CBCT imaging supports implant planning before placement. The post-surgical scan then records the surface data needed for the final restoration.
Both workflows depend on disciplined scanning habits and clear communication with your lab.

Why scanning accuracy matters for crown and bridge restorations
Small scanning errors can translate into large discrepancies in the mouth. A single missed margin or an incorrect bite record can cause an open contact or high occlusion. Each of these problems can lead to remakes, wasted chair time, and patient frustration.
In tooth-supported crown and bridge restorations, scanning accuracy begins with a well-prepared tooth and a dry, accessible field. The scanner must capture the full finish line, the internal geometry of the preparation, and the relationship to adjacent and opposing teeth. Any distortion in these areas can affect how the crown or bridge fits and functions. A clear, continuous margin line and a consistent occlusal record are essential for producing a restoration that seats precisely on delivery.
In implant-supported restorations, instead of recording natural tooth structure, the scan must capture the exact position and orientation of the implant in three-dimensional space. The digital record of the scan body tells the lab where the implant sits within the bone and how the prosthetic abutment should align. Even a slight deviation can cause a misfit that prevents proper seating of the final restoration. Moisture control is critical during this process because any saliva or blood can obscure the scan body geometry and reduce data integrity.
Before implant scanning begins, implant planning commonly uses a CBCT scan that provides a cross-sectional image of the jaw and bone. This allows the dentist to assess bone density and identify nerves and sinuses before placement. Once the implant has integrated, the intraoral scan records the surface detail needed to design the abutment and restoration.
Common crown and bridge scanning errors to avoid
Most scanning errors come from technique, not technology. Consistency in field isolation, wand control, and preparation design prevents the majority of remakes and supports predictable results in both tooth- and implant-supported restorations. Across both tooth-supported and implant-supported workflows, a handful of recurring issues account for most errors.

- Moisture contamination – Moisture is one of the most frequent causes of distorted scan data. Saliva, blood, and debris scatter light and obscure detail. In tooth-supported cases, this often appears as blurred margins or voids along the finish line. In implant-supported cases, it can distort the flat planes of the scan body and change the perceived position of the implant. Field isolation with suction, cotton rolls, and air drying is essential before every scan capture.
- Inadequate retraction or access – If soft tissue covers the preparation margin, the scanner cannot record the true edge. This creates a rounded or incomplete margin in the digital scan and results in a crown that seats high or leaves an open contact. In implant cases, a similar issue occurs when the soft tissue collapses after the healing abutment is removed. Scanning must occur immediately after exposure to preserve the natural emergence profile.
- Incorrect wand positioning – Poor wand control can cause missing data or stitching artefacts. Fast or uneven movement interrupts the scan path and forces the software to guess how adjacent images fit together. In tooth-supported scans, this often leads to missing detail on mesial or palatal surfaces. In implant scans, it can misalign the geometric pattern of the scan body and shift its recorded angulation. Consistent, smooth motion is the key to accurate data capture.
- Overscanning – Making repeated passes over the same area does not improve clarity. It increases data volume and may introduce overlapping meshes that distort the scan. Efficient, single-pass movement through each region maintains detail without compromising accuracy.
- Incorrect bite capture – A poor bite record is another common cause of remake. If the patient does not close fully in centric occlusion, the resulting restoration will fit on the printed model but may sit high in the mouth. In implant cases, an inaccurate bite record can cause occlusal discrepancies. Confirming full closure and complete overlap during scanning avoids these problems.
- Poor preparation design – Preparation geometry influences scanning success. Feather-edge margins, undercuts, or inconsistent tapers make it difficult for the scanner to read the margin line clearly. A 4- to 8-degree taper with smooth chamfer margins and rounded edges is typically recommended.
Crown and bridge scanning tips and clinical considerations
Achieving a precise scan depends on control, consistency, and awareness of how each step affects the final restoration. The following tips outline proven methods for improving accuracy and preventing common errors.
Tooth-supported crowns and bridges
- Ensure a taper between four and eight degrees with a continuous chamfer margin and rounded internal and external edges. This shape allows the scanner to read the margin clearly and supports smooth milling of the final restoration.
- Keep the field completely dry. Use suction, cotton rolls, or an air syringe to remove saliva and blood before scanning. Moisture on the preparation surface can blur the margin and produce voids that compromise fit.
- Use a double-cord technique to expose the finish line and maintain retraction so the margin stays visible during scanning.
- Maintain a defined scanning path. Begin on the occlusal surface and move methodically to the lingual and buccal. Capture the mesial and distal contacts and verify that the entire preparation is within view. Slow, even motion produces the most accurate data.
- Check occlusal clearance before scanning. Posterior crowns require at least 1.5 – 2mm of reduction. Anterior crowns require about 1mm. Inadequate clearance will appear in the digital scan as interference areas and will limit material thickness.
- For bridge cases, capture complete data across both abutment teeth and the edentulous ridge. Keep the field dry and review the live scan for any missing areas before submission.
Implant-supported crowns and bridges
- Dry the field completely before scanning. Saliva or blood on the scan body surface interferes with the optical reader and changes the apparent geometry of the implant position.
- Seat the scan body correctly and confirm that it is fully engaged with the implant and confirm fit with x-Ray/PA. Capture the scan body clearly from multiple angles so the lab can map its three-dimensional orientation.
- Communicate the implant system and scan body manufacturer to the lab. Each scan body has unique geometry that matches a specific digital workflow. Without this information, the lab cannot align the digital scan with the correct library file.
Step-by-step scanning protocol for tooth-supported crowns and bridges
Bridge-specific steps
For bridge preparations, capture full detail of the abutment teeth and the edentulous ridge. Verify clear margins and complete surface data across the span. Fill any gaps while the patient is still in the chair. Review that both abutments have adequate reduction and smooth convergence. Submit the case only when the digital scan shows complete, clean data throughout the span.
| Step 1: Scan the opposing arch | Start with the opposing arch to provide an occlusal reference. Move the scanner smoothly across the occlusal surfaces, then along the lingual and buccal sides. Keep the wand level and the motion steady. Check the live scan to confirm that the scan is continuous and free of gaps. |
| Step 2: Scan the preparation | Dry the field completely. Ensure that the retraction cord is in place and that the entire margin is visible. Position the scanner over the occlusal surface of the prepared tooth. Move to the lingual surface, then to the buccal. Continue from the distal toward the mesial. Capture all contact points and verify that the finish line is recorded clearly. |
| Step 3: Scan the full arch | Once the preparation is complete, scan the remainder of the arch. Work from posterior to anterior in a controlled sequence. Record the occlusal, lingual, and buccal surfaces in turn. Rotate the wand slightly to expose interproximal areas and verify that soft tissue does not obscure the margins. Avoid rescanning the same area unless a gap is visible. |
| Step 4: Capture the bite | Ask the patient to close fully in centric occlusion. Move in a slow, even motion between the arches. Maintain overlap so the software can align the upper and lower scans accurately. Confirm the occlusion on screen before ending the capture. |
| Step 5: Verify the scan | Review the scan from all angles. Check that the margins are sharp, that occlusal clearance matches material requirements, and that no voids or artefacts are visible. Fill any missing areas while the patient is still in the chair. |
Step-by-step scanning protocol for implant-supported crowns and bridges
Pre-step: CBCT imaging (planning stage)
Implant planning commonly includes a CBCT scan of the jaw. The CBCT image shows bone volume, shape, and density and identifies anatomical landmarks such as nerves and sinuses. This information helps position the implant safely and confirms that the bone can support osseointegration.
| Step 1: Scan the opposing arch | Begin by scanning the full opposing arch. Move across the occlusal surfaces in a smooth, continuous path, then along the lingual and buccal aspects. Maintain a steady motion and ensure the scan is complete before moving on. The opposing arch provides the occlusal reference for all subsequent stages. |
| Step 2: Initial arch scan with healing abutment in place | Scan the working arch while the healing abutment remains seated. This records the position of the surrounding teeth and the general contour of the soft tissue. The scan provides a framework that the restorative data will later align with. |
| Step 3: Scan the emergence profile | Pause the scan and remove the healing abutment. Immediately scan the soft-tissue emergence area before the tissue collapses. Keep the field completely dry and capture the full contour of the gingival surface. This information allows the lab to design the abutment and restoration so that they support the soft tissue correctly. |
| Step 4: Scan the scan body | Seat the scan body firmly and confirm that it is fully engaged. Dry the field and capture the scan body clearly from multiple angles. Verify that the geometry is clear and that no artefacts are visible. The scan body data defines the three-dimensional position and angulation of the implant and guides the lab in aligning the digital library component. |
| Step 5: Capture the bite | Ask the patient to close in centric occlusion. Scan the bite using a slow, even motion to ensure sufficient overlap between the upper and lower scans. Confirm on screen that the occlusion aligns correctly before completing this stage. |
| Step 6: Verification and communication | Review the final scan from every angle. Check that the scan body geometry is complete and that the emergence profile remains intact. Confirm that the tissue has not collapsed and that there are no missing areas. When submitting the scan, include the implant system and the scan-body manufacturer so the lab can align the digital file with the correct workflow. |
The final word
For tooth-supported crown and bridge cases, success depends on capturing clean margins, smooth preparation geometry, and accurate occlusal relationships. For implant-supported crown and bridge cases, accuracy relies on recording the exact position of the implant and the shape of the surrounding soft tissue. When these fundamentals are combined with clear communication between dentist and lab, every digital crown or bridge becomes more predictable.
Avant Dental is a full-service dental laboratory. To find out more about working with us, please email [email protected] or phone 1800 287 336.
This blog is part of our Intraoral Scanning blog series, designed to help dentists get more predictable results from digital workflows. Explore the full series below: